
Houdini to UE5 Niagara 101
- ychen3129

- Apr 27, 2022
- 2 min read
Set up the plugins
First, make sure your sidefx lab is installed and up to date in Houdini

Then, download the Houdini niagara plugin for unreal engine
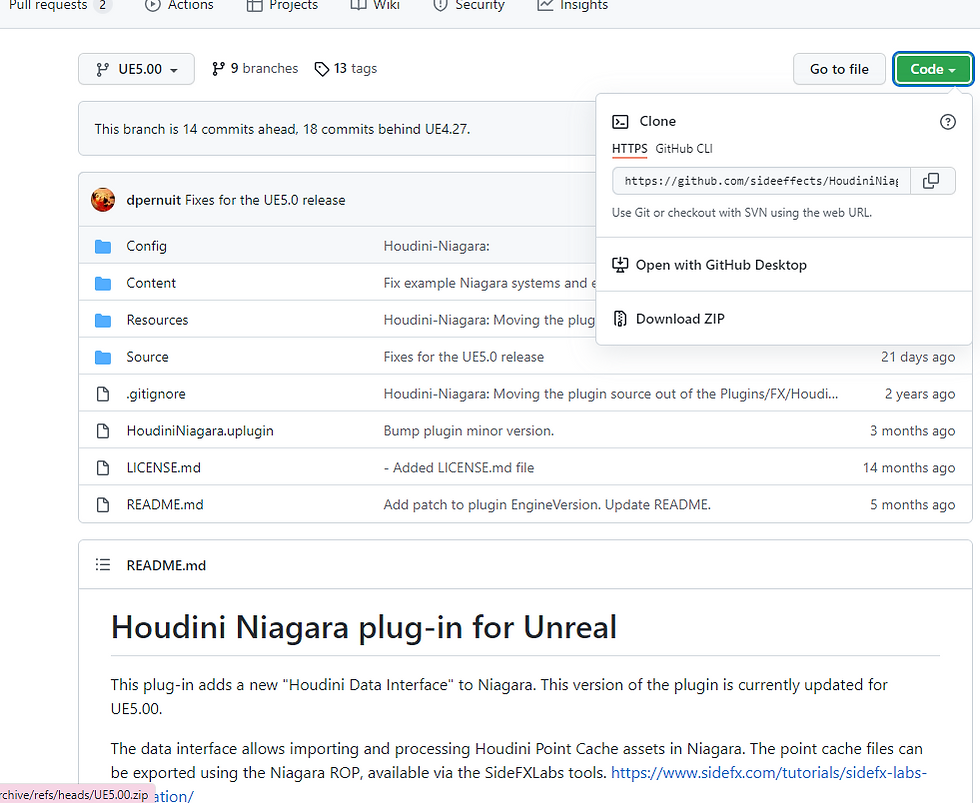

Copy this folder to either the source directory or your project plugins folder

Open your ue5 project
enable the plugin and restart

Just in case you are getting this error, we need to rebuild the plugin

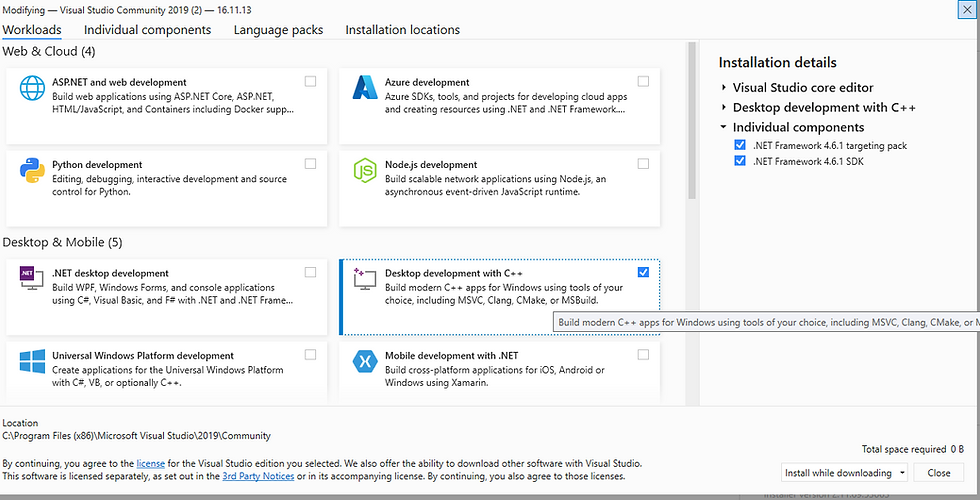
Make sure to install and set up the visual studio for UE. You can find how to in this video https://youtu.be/xFY4CV6dpbI
Visual studio 2019 is recommended
For workloads tab : check desktop development with C++
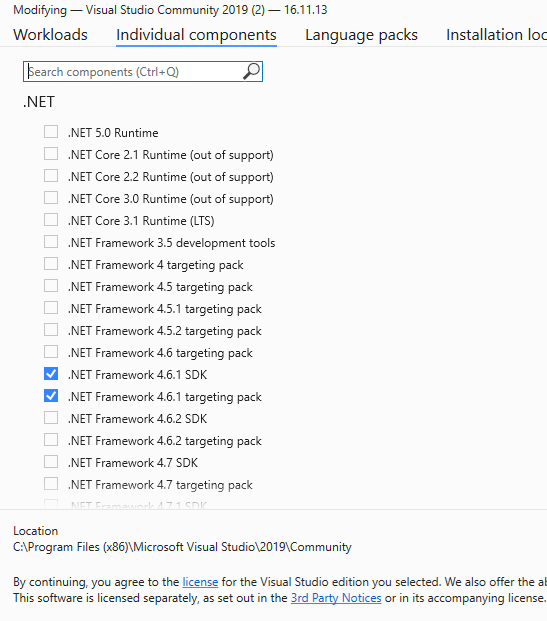
for individual components tab check .net framework4.61 sdk and .net framework4.61 targeting pack
We are going to use the command prompt to rebuild the plugin
>cd/
C:\Program Files\Epic Games\UE_5.0\Engine\Build\BatchFiles>RunUAT.bat BuildPlugin -plugin="C:\Program Files\Epic Games\UE_5.0\Engine\Plugins\FX\HoudiniNiagara\HoudiniNiagara.uplugin" -package="C:\A_Projects\Rebuild"
if you are not familiar with how to rebuild plugin for unreal, check out this video
This is telling the computer to use runUAT.bat to build houdiniNiagara plugin into rebuild folder.
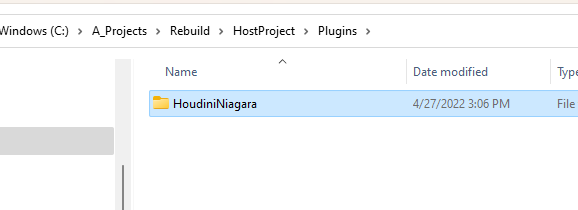
a host project has been created
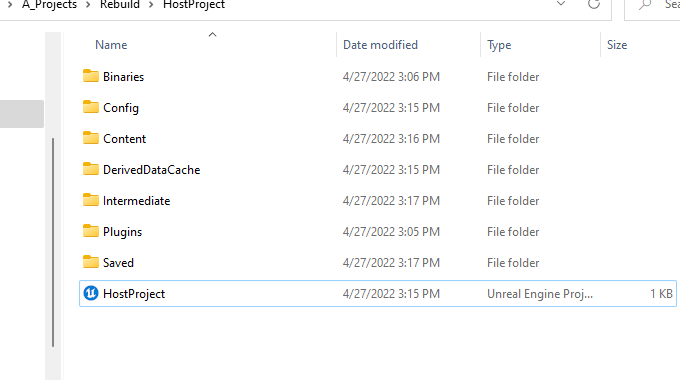
go to its plugin folder, we can copy the Houdini niagara folder to our own project's plugins folder
__________________________________________________________________________________________
Let's create a quick simulation in houdini to test out

The set up is super simple
I'm using the points on the bottom of the sphere as emitter source points

use the sphere itself as the projection container so the particles are stay inside the sphere

add popwind and pop color for some visual interesting


add attribute noise node for the pscale
for making the loop, do not use timeshift, use make loop node

render the data with the niagara rop

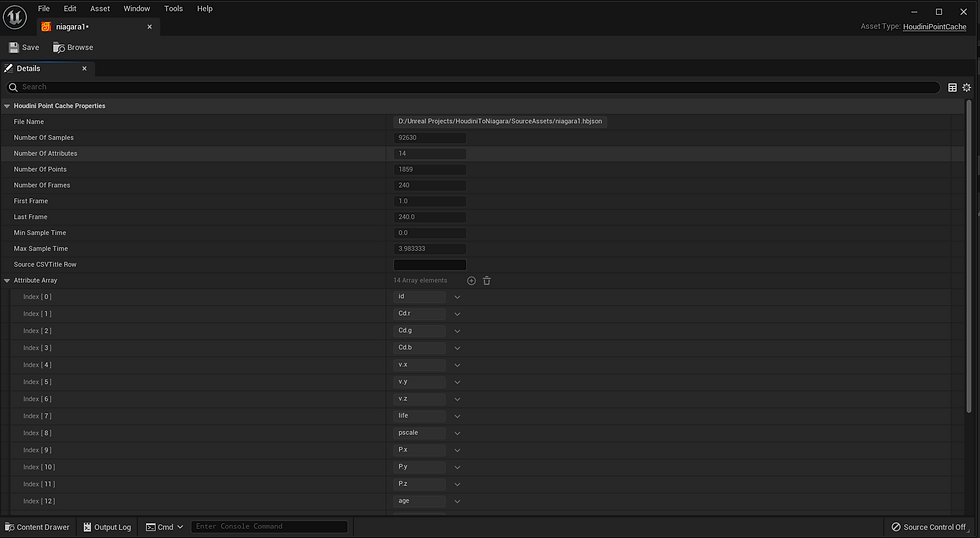
we will get a hbjson file as a result

We can import the file into the project

All the attribute selected for export have been stored inside this file, we can use them in niagara systems
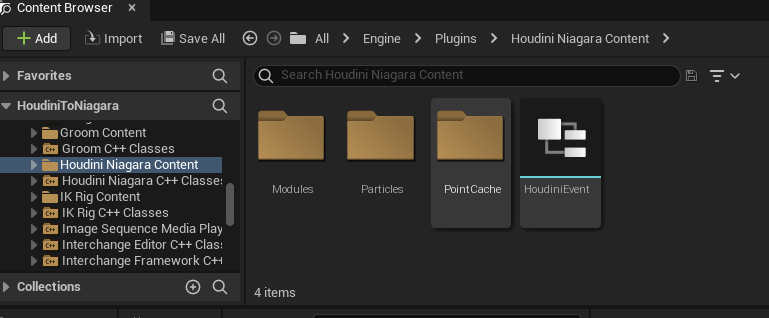
To use template emitter that houdini plugin comes with, first we need to Enable the engine content

we will see the houdini niagara content folder
create a niagara system

type in houdini to find the templates, here we are going to use houdini niagara basic template, make sure library only is unchecked and we are under parent emitters tab.

or just create an empty system, use add emiter to add the houdini niagara basic emiter
short cut is E

Choose spawn particles from houdini point caches
sample spawned houdini point cache
sample houdini point caches
Plugin the render result to this area

on our cache file from houdini, the max sample time is the duration of our simulation, which is 3.98333 scecond this is corresponding to the loop duration in niagara emitter
Choose emitter update
Set loop duration: 3.983333

if we take a look at the parameter tab on the houdini emitter, we will find all the attribute we choose to export
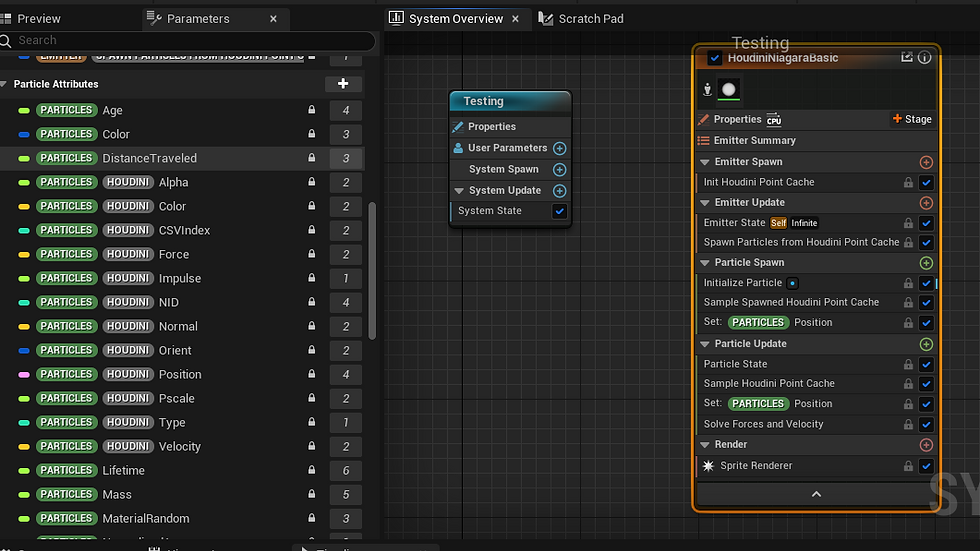
let's use its color and pscale attribute
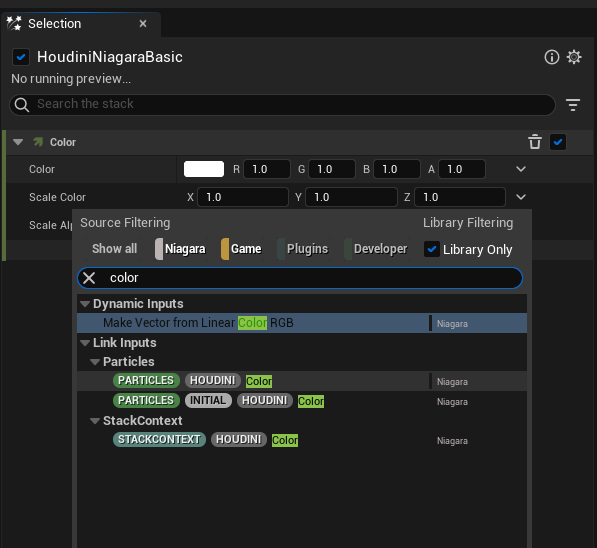
Click on the + button next to particle update
type in color, choose color under general

go to selection tab, under color, choose show advance, click on the drop down arrow on the scale color, (since the houdini color is a vector 3, it would only show under scale color which is also a vector 3)
for pscale
we are going to use a sprite size
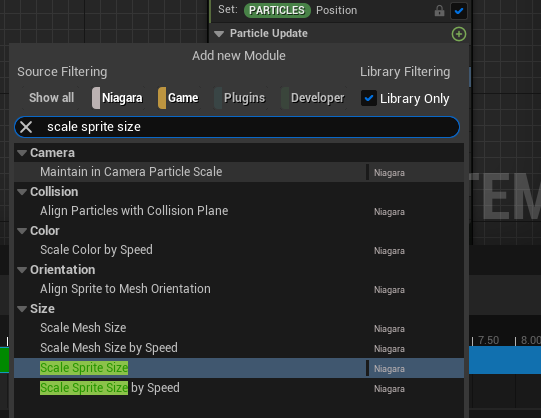
set the scale sprite size mode to uniform
select the pscale for the scale factor

and we can do all the interesting manipulation in normal niagara emiter in this one too.

Tada


THANK YOU!💖